Showing posts with label fibre. Show all posts

Monday, 23 July 2012

How To Make Felt Rose


This was originally a tutorial on Instagram!
These roses look amazing, but are relatively easy to make.
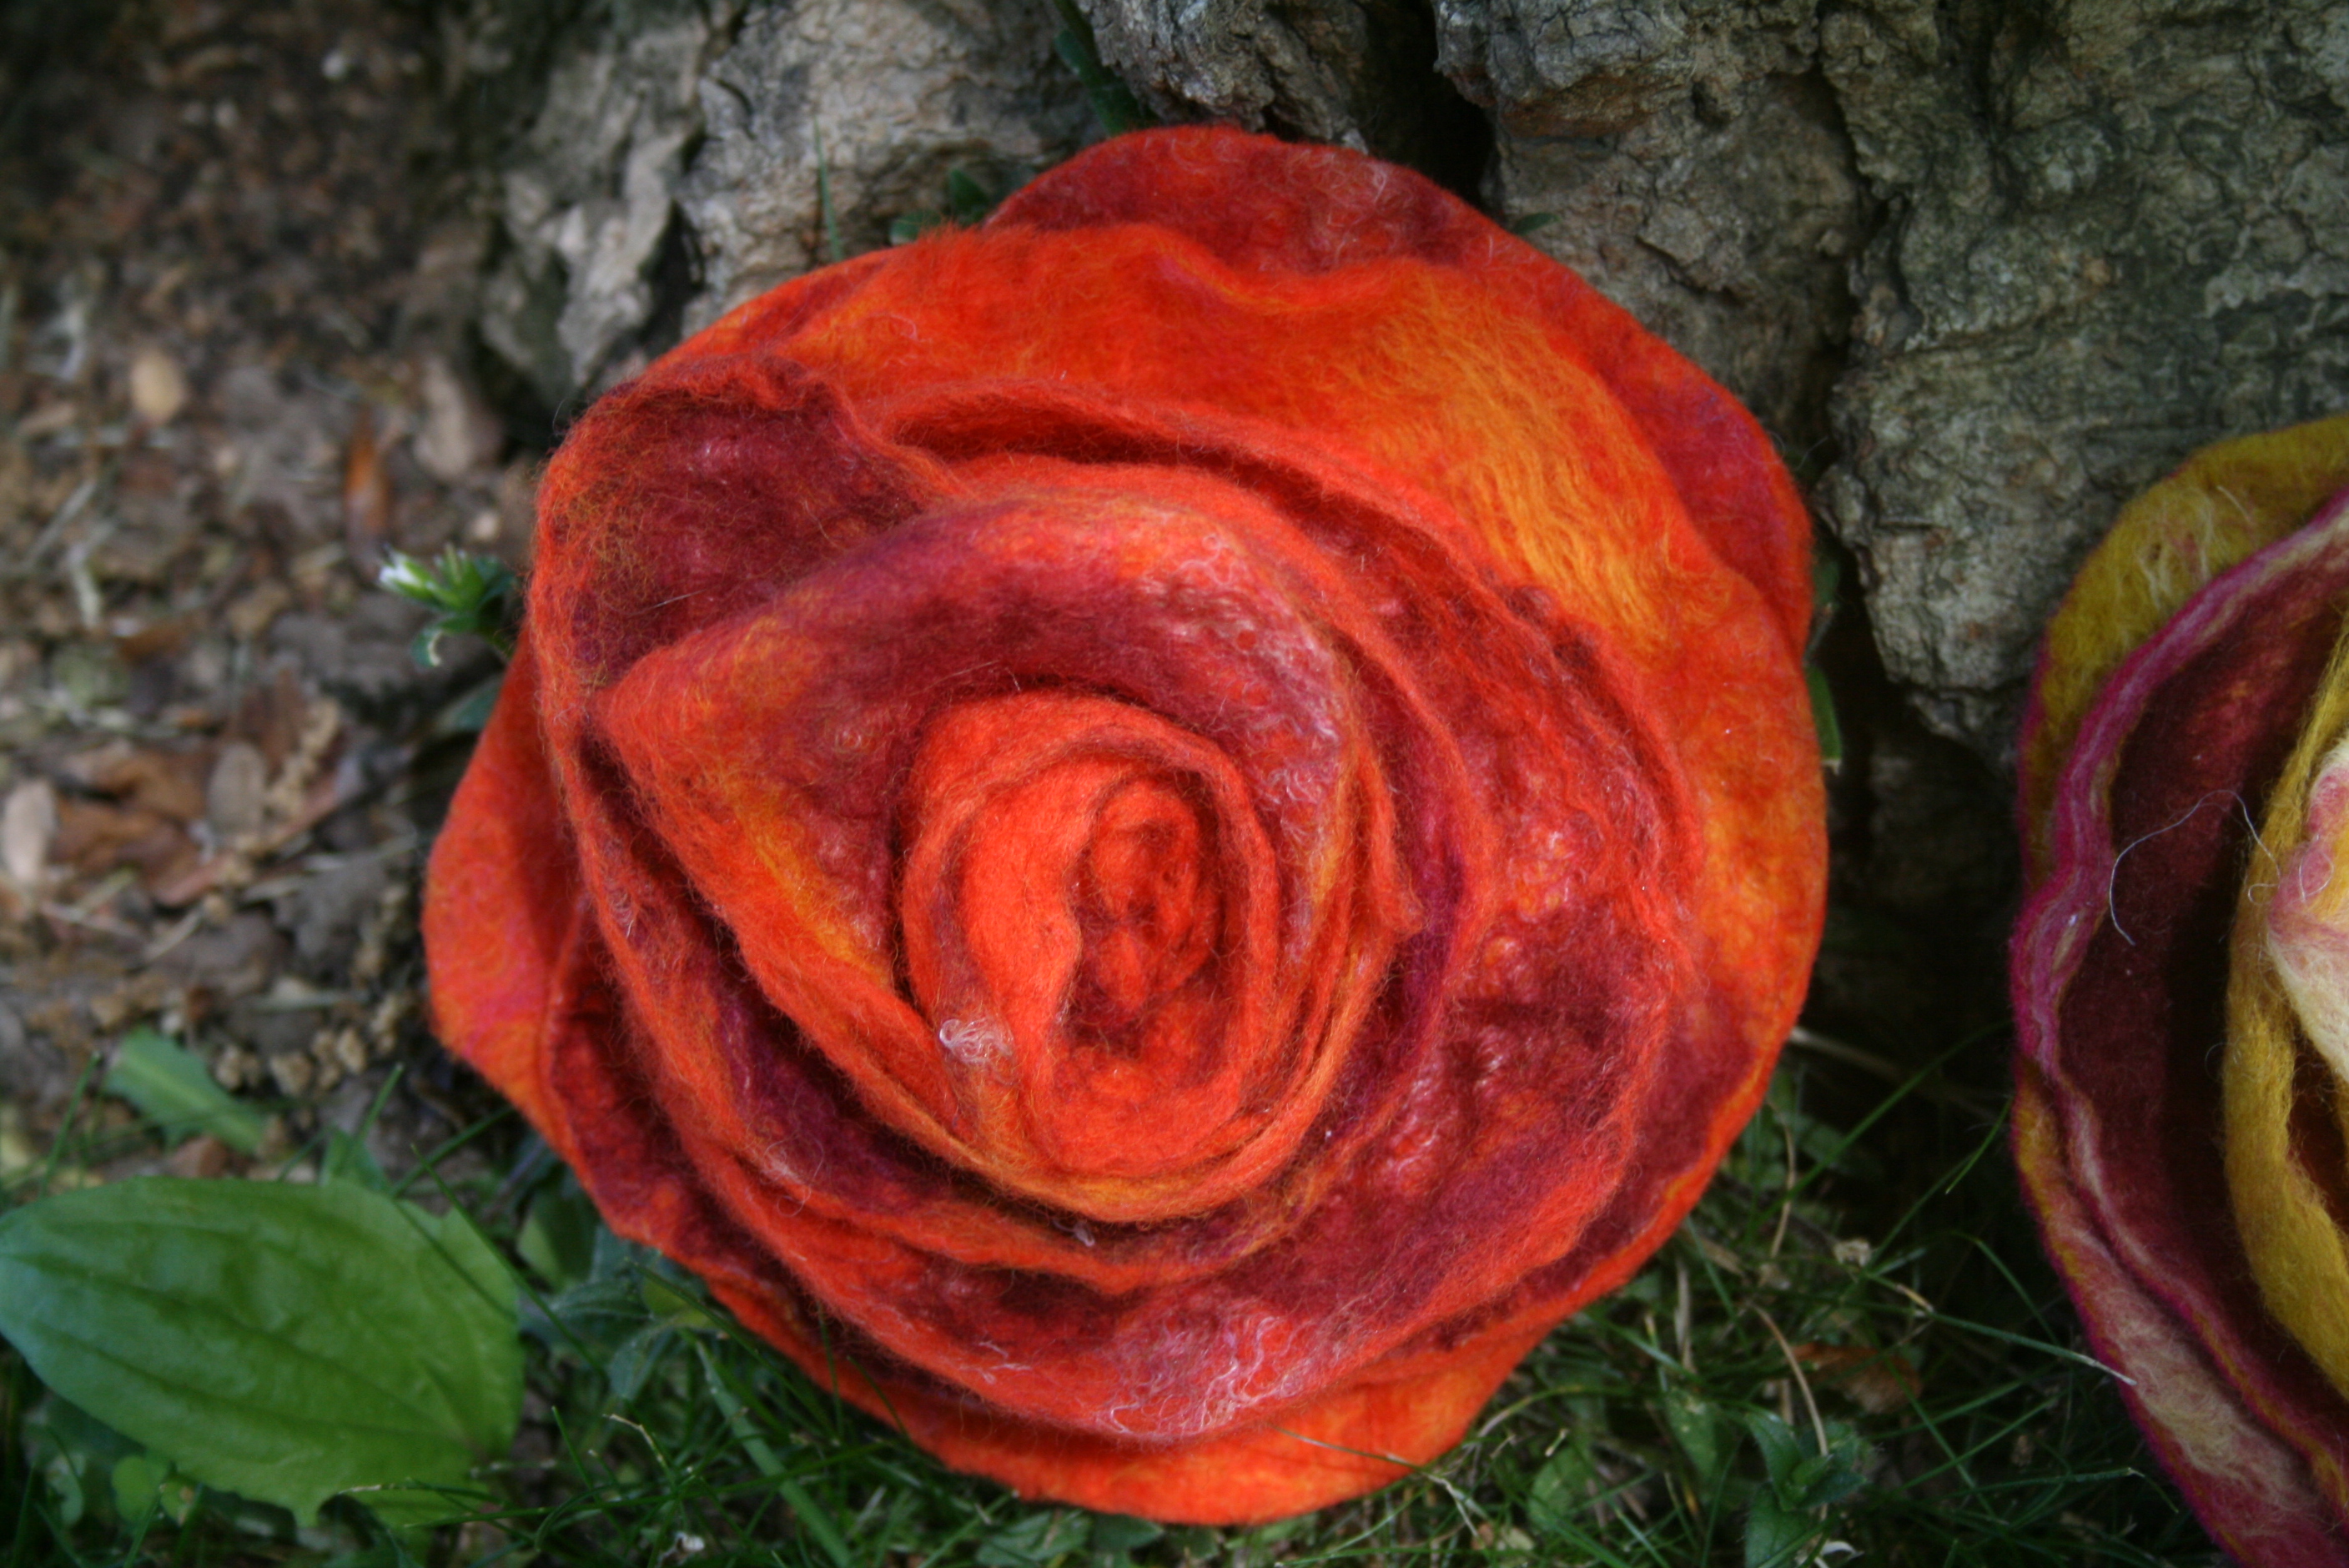
This was how my first ever Instagram tutorial started!
Making felt roses is very very easy. I have two ways of making them, either by creating a spiral, or upcycling a felt coaster thats not quite up to scratch. You can see my tutorial for making spiral roses here. Since I wrote that tutorial I have learnt to needle felt, so instead of sewing you can easily needle felt the spiral rose together.
The rose I'm going to show you today requires you to make a piece of flat felt, I showed you how to do this in this post.
You need a flat piece of flat to start.
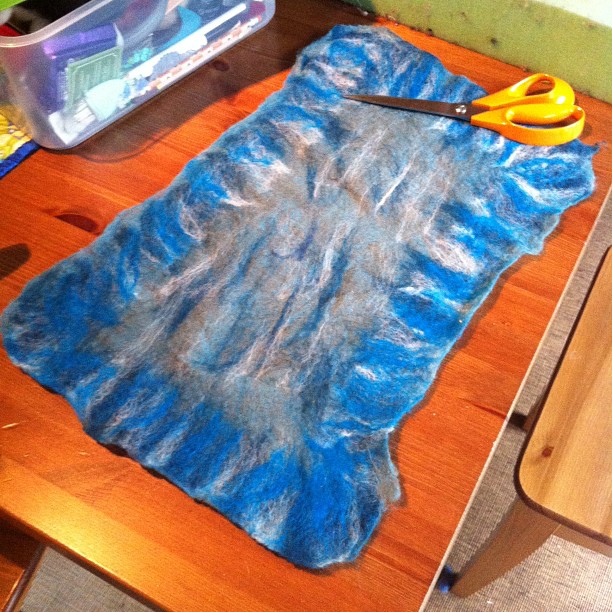
You need to start by making a piece of flat felt in the colour of your choosing. I make my pieces quite big as I like to have scraps to play with or use as pre felt, but you can make a piece aprox 20 x 30 cm. make sure you add highlighting colours and darker tones.I also like to add silks, but I'm a masochist.
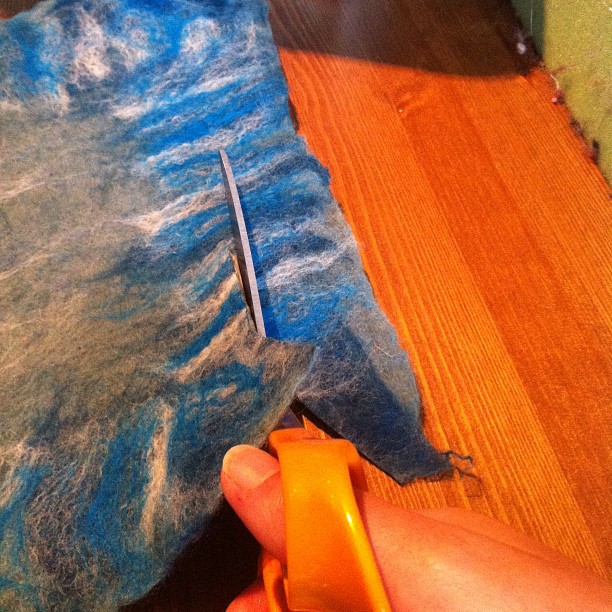
Time to cut.
Now cut all the way around the outside about 2/3cm width so you get that nice wibbly wobbly outer edge, don't worry about cutting straight, cut in one long continuous line.
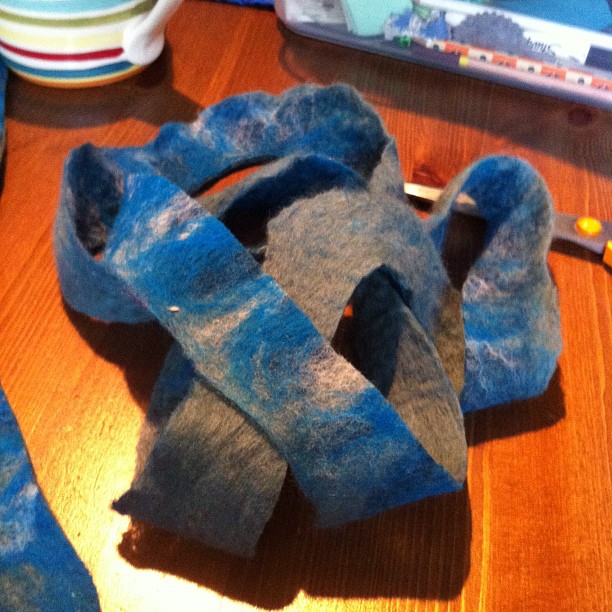
A nice long wibbly wobbly line.
So you end up with this.
Now you need the large flat piece that is left.
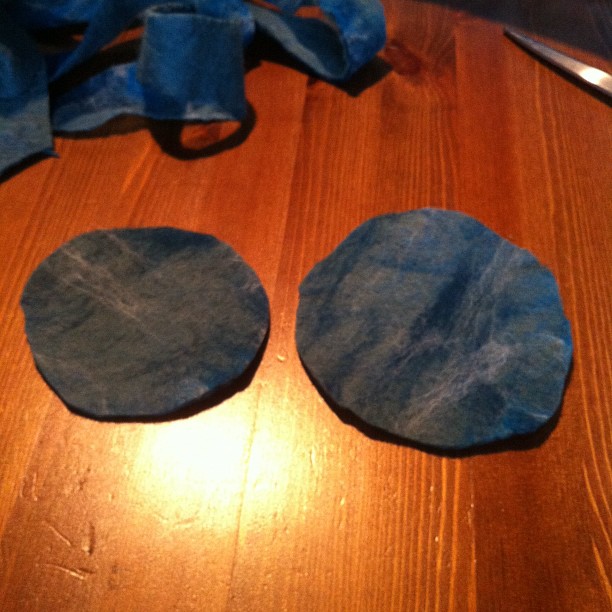
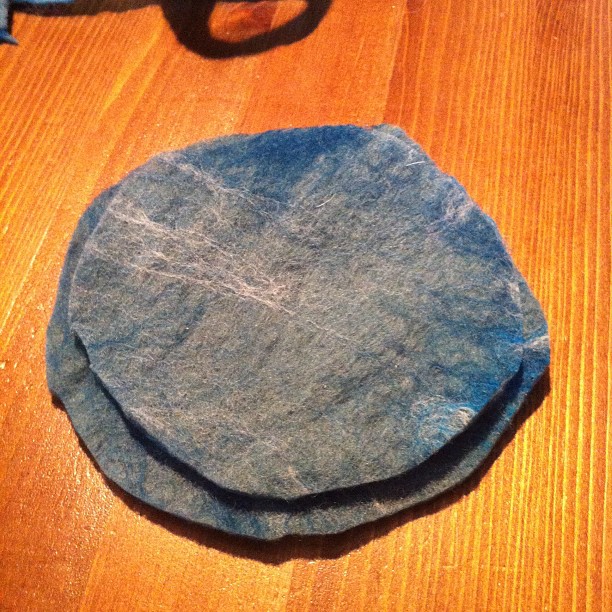
Next, cut two sort of circles from the remaining flat piece. Size is up to you, but I wouldn't make them smaller than 7cm. Make one slightly bigger than the other , and don't try and make them perfect circles, we want them wibbly wobbly because nature is wibbly wobbly.
And they sit on top of each other.
You can needle felt these to each other.
Now to make the rose centre.
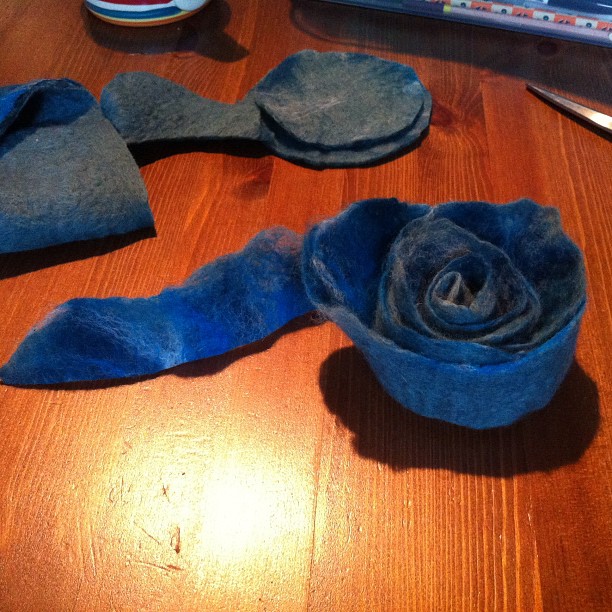
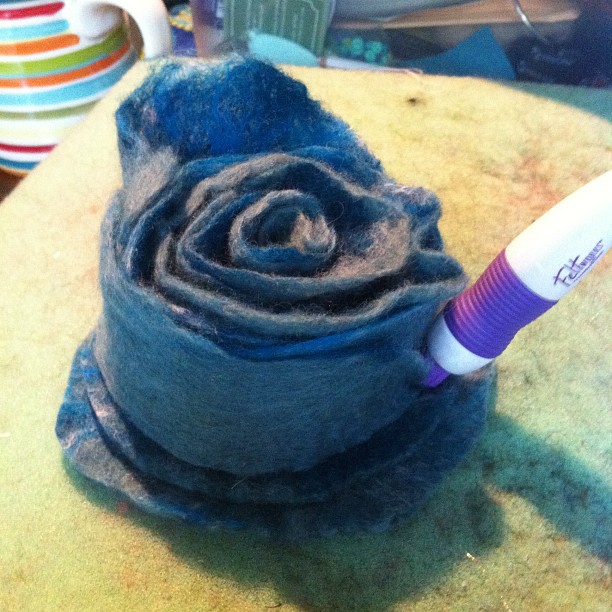
Now loosely (v.important) coil the outer edge up. You can see how the lovely irregular edges give the rose a natural feel.
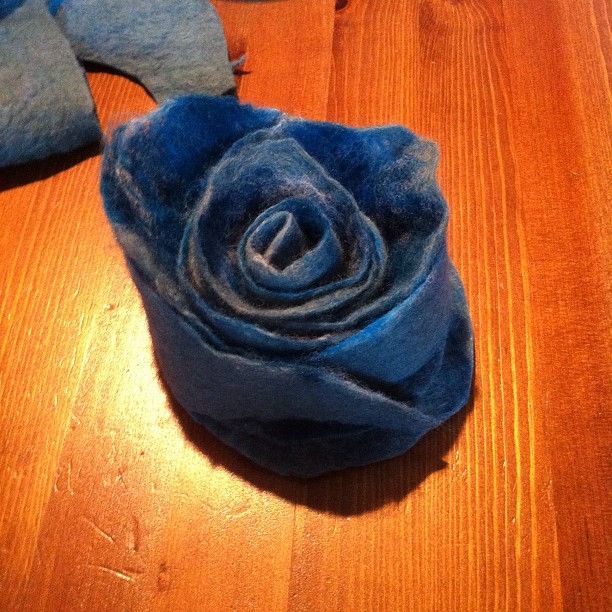
Place this on top of your two circles. Now it's time to get some serious needle felting done.
Stab! Stab! Stab!
Using a coarse needle, you are now going to stab stab stab and needle felt the coiled felt to the circles beneath. Work from the outside in, this will make the rose "petals" lean back and again give it a more natural feel.
You can't do too much, so really get stuck in. Remember, the more stabbing, the more secure.
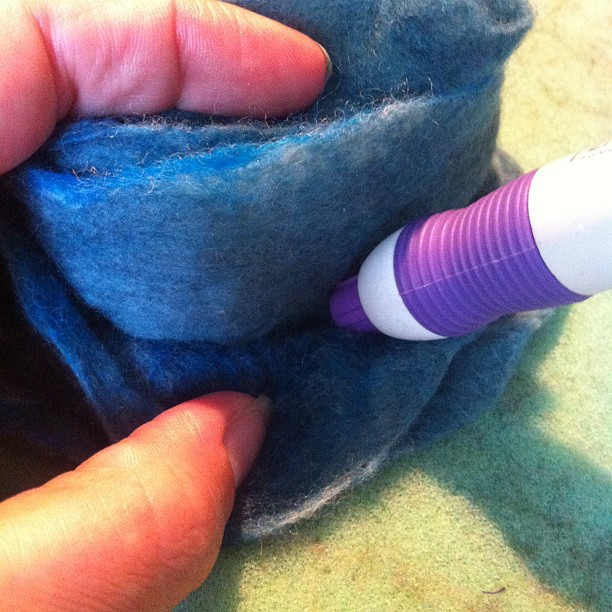
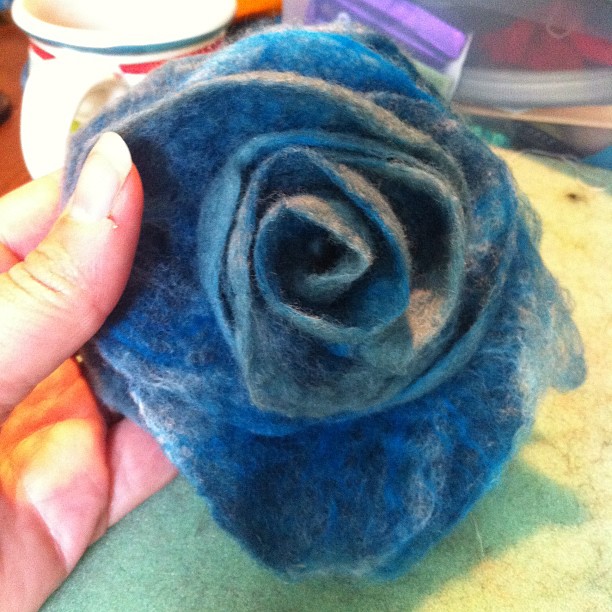
Ta-dahhhhh!
It's hard to say how much you should needlefelt, you want to make sure your rose is secure, but beyond that it's up to you. I've found the more you work into it the more sculptural it becomes, so really stop when you are pleased with how it's looking. When I'm happy with it, I  sew into the back, working in a spiral to the centre just to make sure the piece is secure, this also scripts the piece. Then you can either add a brooch pin, or a barrette or add it to an Alice band. You could even add some nice leaves. Easy peasy.
And now the world is your oyster!

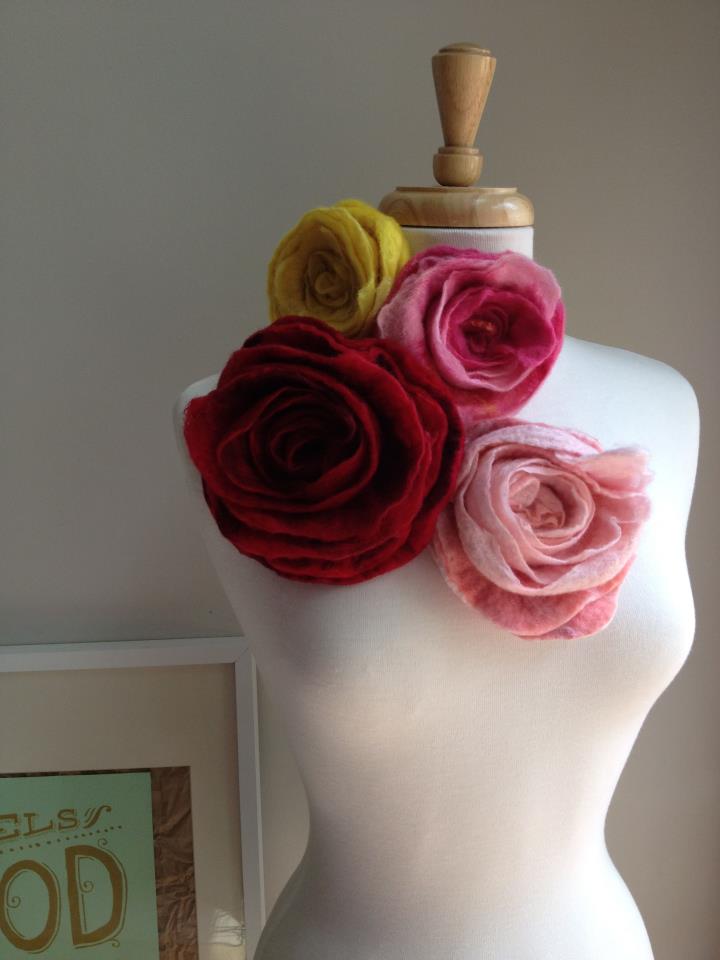
I love making these roses, they look lovely on summer jackets and winter coats, great on denim and very special in your hair. They work in all sorts of colours, your only limit is your imagination. I'm sure these would work with shop bought wool felt or a felted old sweater!
Enjoy making these roses! if you do make one, please send me a picture!
Happy Days!
Jan xxxxx

Saturday, 14 April 2012

He Sent Irises and Yellow Roses

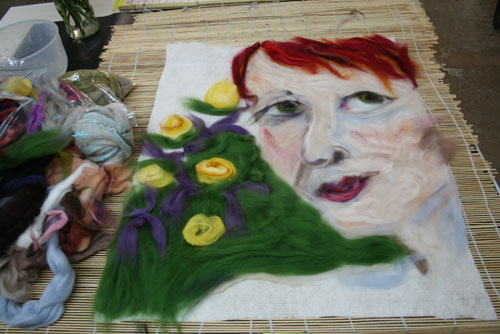
I made a felt piece for a local art show.
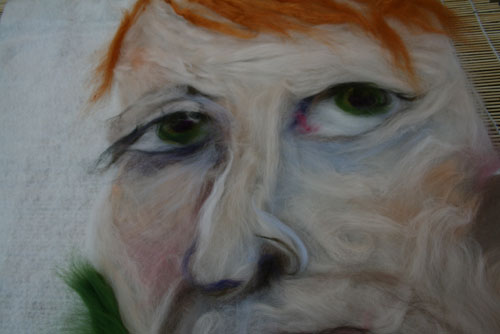
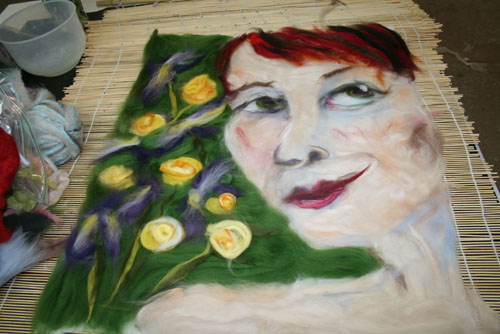
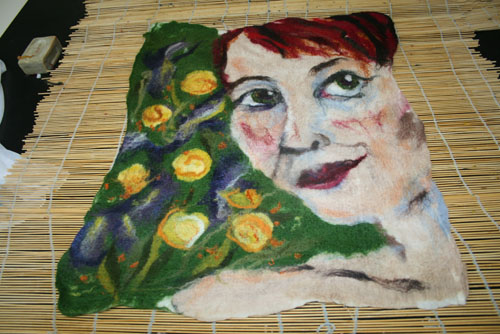
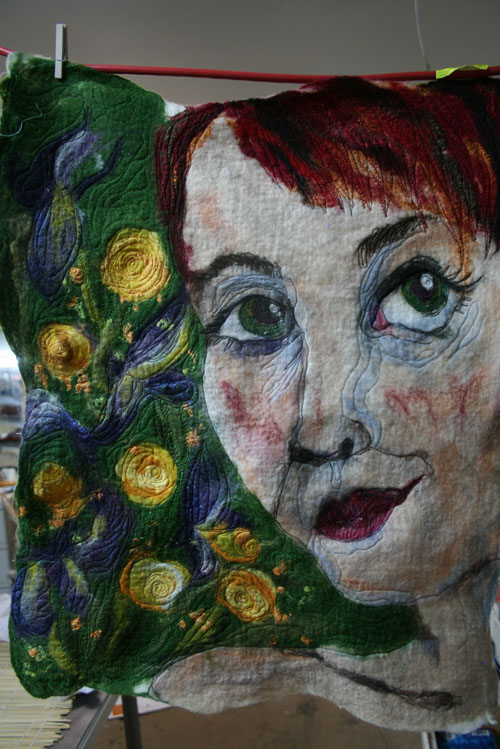
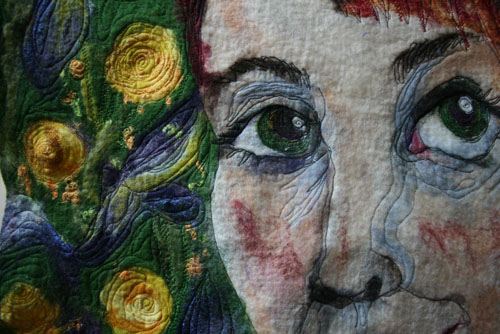
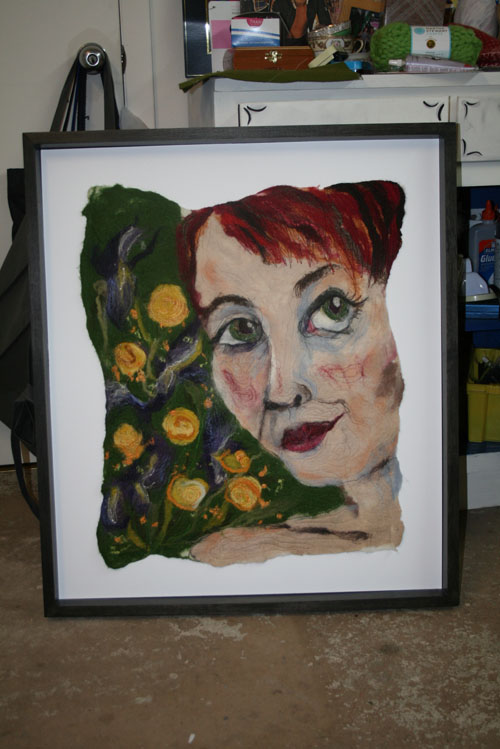
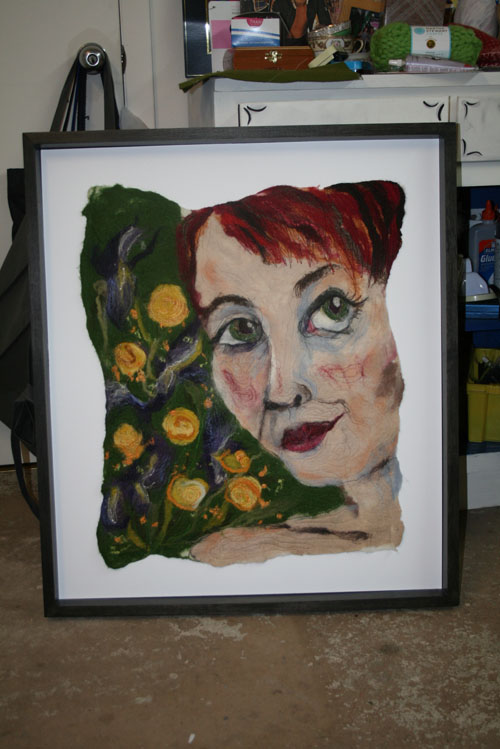
"He sent irises and yellow roses" felted merino and silk on pro fusion with machine embroidery embellishment.
The show was called "About Face" and was the annual open for the Plymouth Community Arts Council.
I like drawing and painting faces but I have generally avoided them in a felted pieces for a couple of reasons...
1) Achieving detail in wet felting can be tough as the rolling process can create a lot of movement. I don't mind this as it adds an element of chance to the piece, I kind of like the idea that a bit of the work has made itself. Unfortunately when you are working on something like a face a bit of slipping and sliding can make a big difference and not always in a good way.
2) The best way to achieve detail in a wet felted piece is to use pre felt....and that requires some forward thinking, and I'm not always that organised. (Who am I kidding, I'm NEVER that organised....however for you my little felt lovers I make an exception and I am as a blog working on a wall hanging that uses a lot of pre felt, just for your delight.)
However, I wanted a piece in this art show, and it had to deal with the human face, so I bit the bullet.
As you know I like to keep it simple with my work. I still follow the advice of my art teacher Phil Nolle 'Paint what you know", so rather than over complicate things, I decided to create something based on real life.
That week, Hubble sent me flowers for no particular reason other than it was a Tuesday, and smart cookie that he is, he sent me my favourites, yellow roses and irises. I had already planned to make some small pieces based on these flowers, so I figured I would make a piece based on how lovely and special that made me feel.
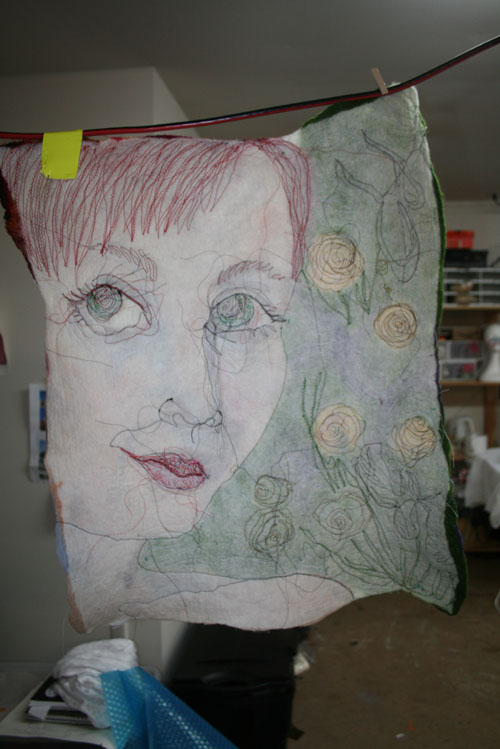
My composition was laid out on a square of Pro-Fusion.
So working with Pro-Fusion is a dream, it's super thin and you just lay out your design directly on to it. It felts super quick and because its so thin, you end up with a felt that is easy to machine embroider, without compromising on strength and durability. I bought mine from here.
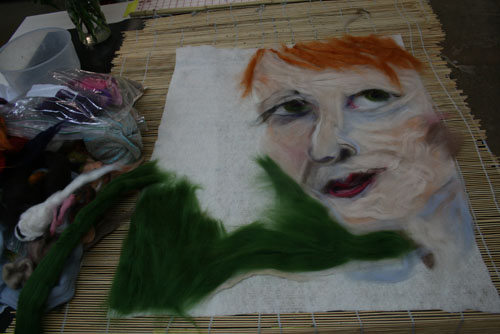
I was pretty brave laying out the design, I didn't use any pre felt (part felted merino that has been cut into specific shapes). I was taking a big chance as I was not compromising on detail.

I added roses and irises in the background, working fromm life. And of course my girl had red hair.
Ready to roll, with a whimsical smile.
She rolled really well, and with the pro-fusion, rolling time is cut down.
The machine embroidery enabled me to add more detail to eyes and flowers and I think give a sculptural feel to the piece over all.

I was thrilled with the way this went.

I even liked the back!
Although I was initially against doing it, Hubble and I made a shallow glass-less box frame for the piece to sit in. I attached the felt to the mounting board at the back by using velcro - one side is sticky which I stuck to the card and the other side I stitched to the back of the felt, that way, I can roll the piece up and store it when the exhibition is over. I think this a great compromise to framing the work, as I'm still not super keen on putting it behind glass.
If you live in the Plymouth area, you can see this piece throughout April in the "About Face" exhibition at Plymouth Community Arts Council.
Love Jan xxxxxx


Felting, sewing, making, creating, baking, reading and the occasional thought.


What Do You Get When You Fall In Love?

A whole lot of trouble.......

Times two.